XLPower Protos 380
Assembly experiences
Thanks to XLPower and Ra Kabun - as he promised us before - we have got a brand new XLPower Protos 380 kit. As a first step we built the helicopter from the kit as it is in the box, just to see how it looks what we need to complete and so on. This is why we had to divert from the manual sometimes, but the general experience is really good.

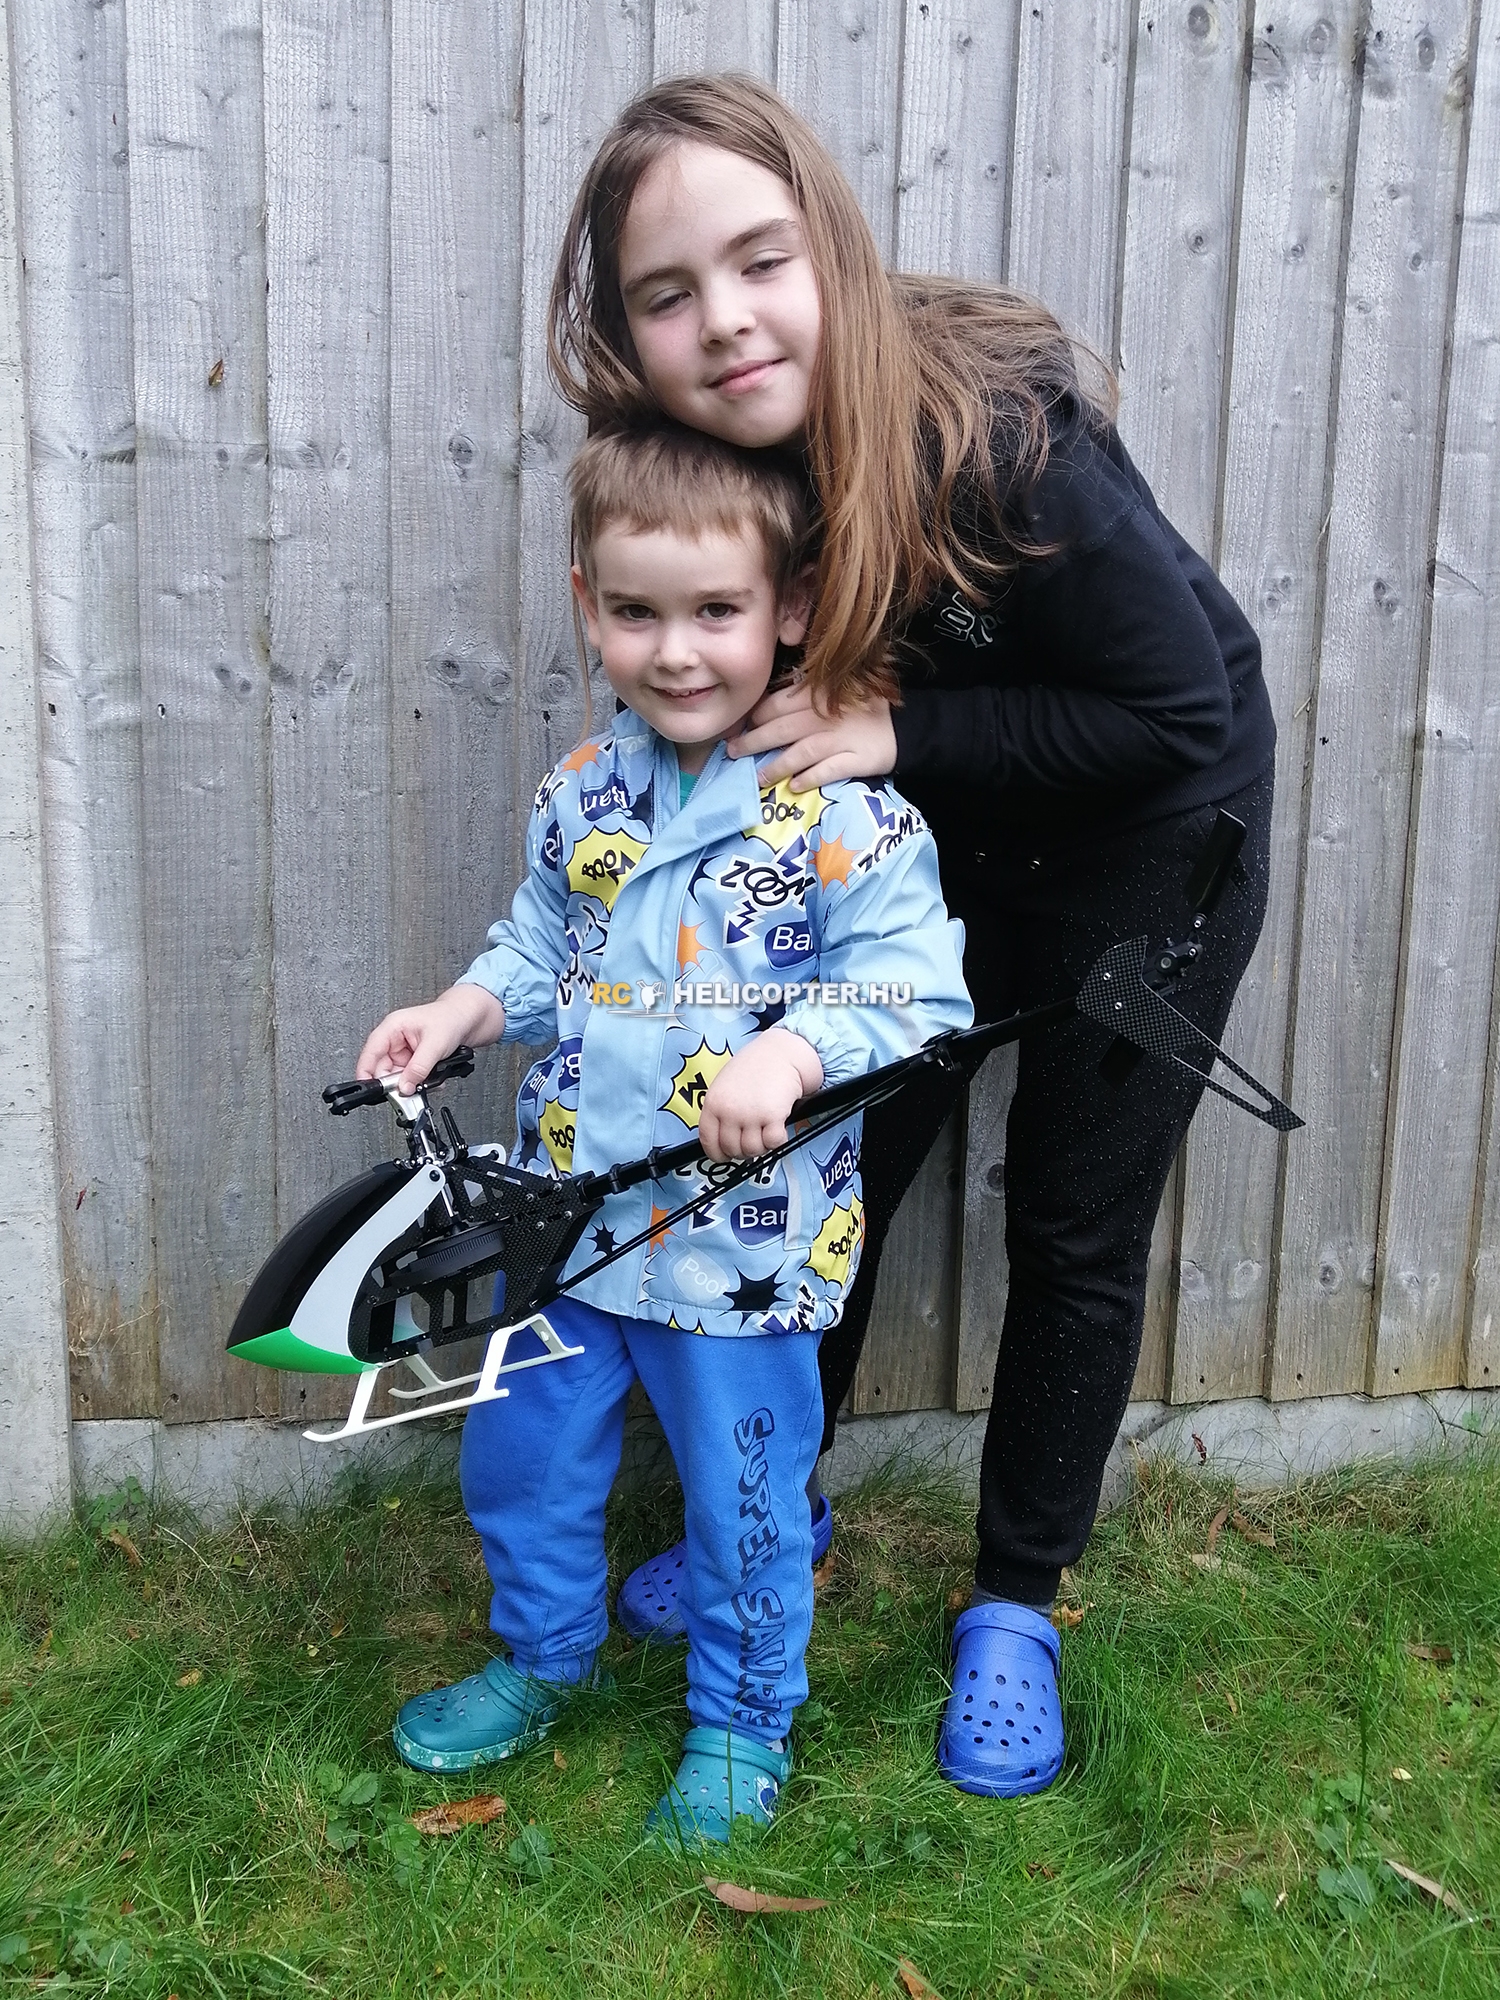
The unboxing video is published already as part of the ToncsiRC series, my two helpers opened the box. Simple but nice packaging in the box, nothing unnecessary which could make the kit more expensive just for the eye candy. And no manual either.
It is typical now, the box does not contain the manual as it is available on the factory website. This has two benefits from their point of view: The manufacturing of the kit is cheaper, because there's no printing cost, and if there's a mistake in the manual, it is easier to correct it. From our point of view: we need a computer or a tablet to open it, but if somebody likes it printed, you are welcome: print the PDF. Printing of the manual by the factory would make the kit more expensive, especially because the volume of a new model is not too high nowadays.
The manual is clear and not overcomplicated, easy to follow, however it supposes you have got all the components which are required to build the helicopter. But if you have never seen this helicopter before and you didn't dare ask, you can't find out what exact components are required, as this is not listed in the manual, on the XLPower website and at the retailers either. Okay, you know that, you need motor, ESC, blades, battery, servos. But which size, what specification? Here is a summary:
- 3× Micro size servo like Align DS450 or similar, Savöx SH-0257, GDW DS290MG
- 1× Tail Servo in micro size again, like Align DS455
- 1× ESC - which is a bit more difficult, however the physical size limits you - the options: 50-60A, 6S ESC like Hobbywing Platinum V4 60A or Align BL50X. For example the Castle Creation Edge 60A doesn't fit, as it is too wide, the slot for the ESC is 37 × 26mm and about 70mm long in the Protos 380.
- 1× pair of 380mm rotor blade, like Rotor Tech or Align
- 1× motor - in our case this will be an Egodrift Tengu 3220 900kV 6S motor, but it is up to you, something similar is required
- Then you need batteries: 1400-1800mAh 6S1P and I would recommend 30-40C minimum.
- And of course FBL and receiver if the FBL is not RX for you.
Of course, tools, transmitter other things are not listed here which are obviously required.

Making a helicopter from the kit
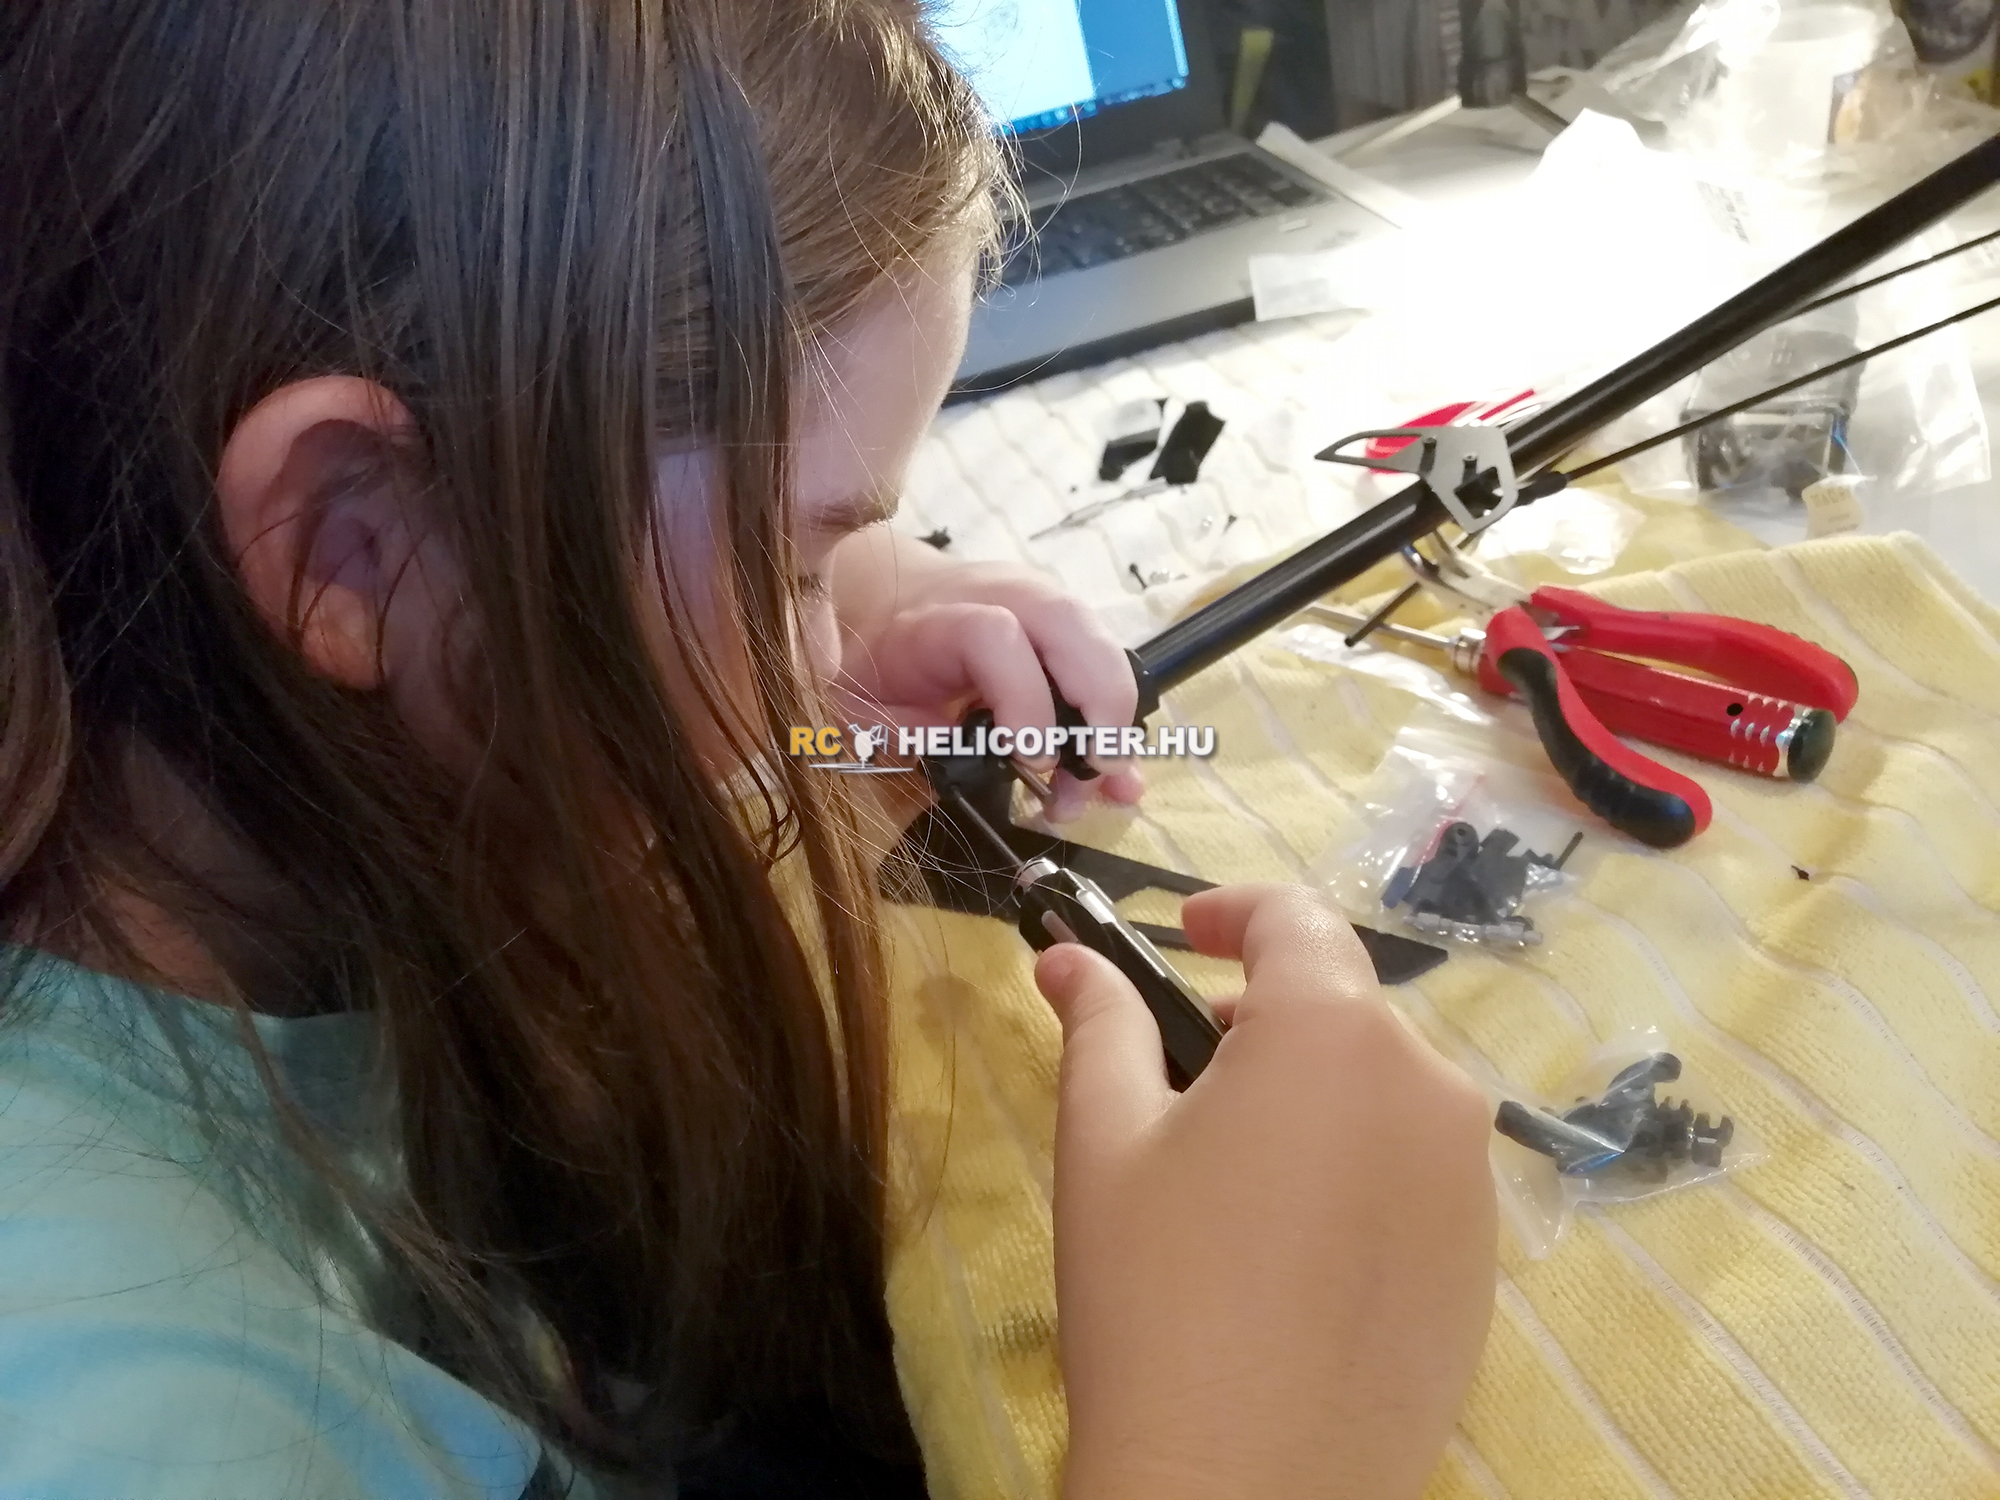
Building the helicopter is also not so complicated, there's no tricky bit at all, however it's better to double check the sides and pieces than to put it together then to take it apart. It happened to us few times. But the two kids: Antonia with her 9 years (and Daniel with his 3) could understand and build everything, I only had to help her out a few times when more muscle was required - like the bearing row in the tail grips or tensioning of the tail belt.

The Protos 380 has got four things where simple spikes keep the arms together. I'm a bit concerned they won't last long, but it is true, pushing them in demanded some "brute" force. The manual didn't require CA for them.

The entire process is starting around the motor and the main shaft block. Simple, clear workflow, nothing tricky, there is nothing which can be confusing - until the rotor head. The arms on the hub require a bit higher attention, because it is easy to put them up reversed. The rotor hub looks ugly until it gets on, when the grips and the arms are assembled, it turns into a nice but simple rotor head.

And the tail mounting block: finally a helicopter, where the belt tensioning is not a rush against the time because of the thread lock - there's no thread lock. The long screws are twisting in self locking nuts, you have got plenty of time to finish it, to readjust it as many times as you want.
The motor has not arrived (ordered) yet, but the main belt is in the helicopter now. The reason: it's hard to put it in later, I found it easier this way than to get the main gear off then back again. Even so the manual instructs you to put the motor in at the first place, it does not seem like rocket science to do it afterwards, all screws can be reached even now, when the whole kit is done.

The FBL module has got a really big and nice plate at the bottom. It's a bit scary first, the plate is not parallel with the ground, but if you look at the helicopter closer, even the main shaft is leaning forward, they are in the right angle precisely, the FBL module will be fine there. The ESC slot is not extremely big, however the location of the ESC is protected against a crash this way.
Antonia could understand all steps precisely at this stage - including the rotor grips. Everything was precisely manufactured, we haven't experienced any gaps or fitting issues. Surprisingly the manual instructs to use thread lock even when the screw twists into a plastic part seemingly. But when you check it closer, the thread inside is metal, just trust the manual. Like in case of servo mounting blocks: I almost stopped her to use the thread lock when she put a drop on the screw, then she showed me the manual and the part itself and voilá: a metal thread was inside.

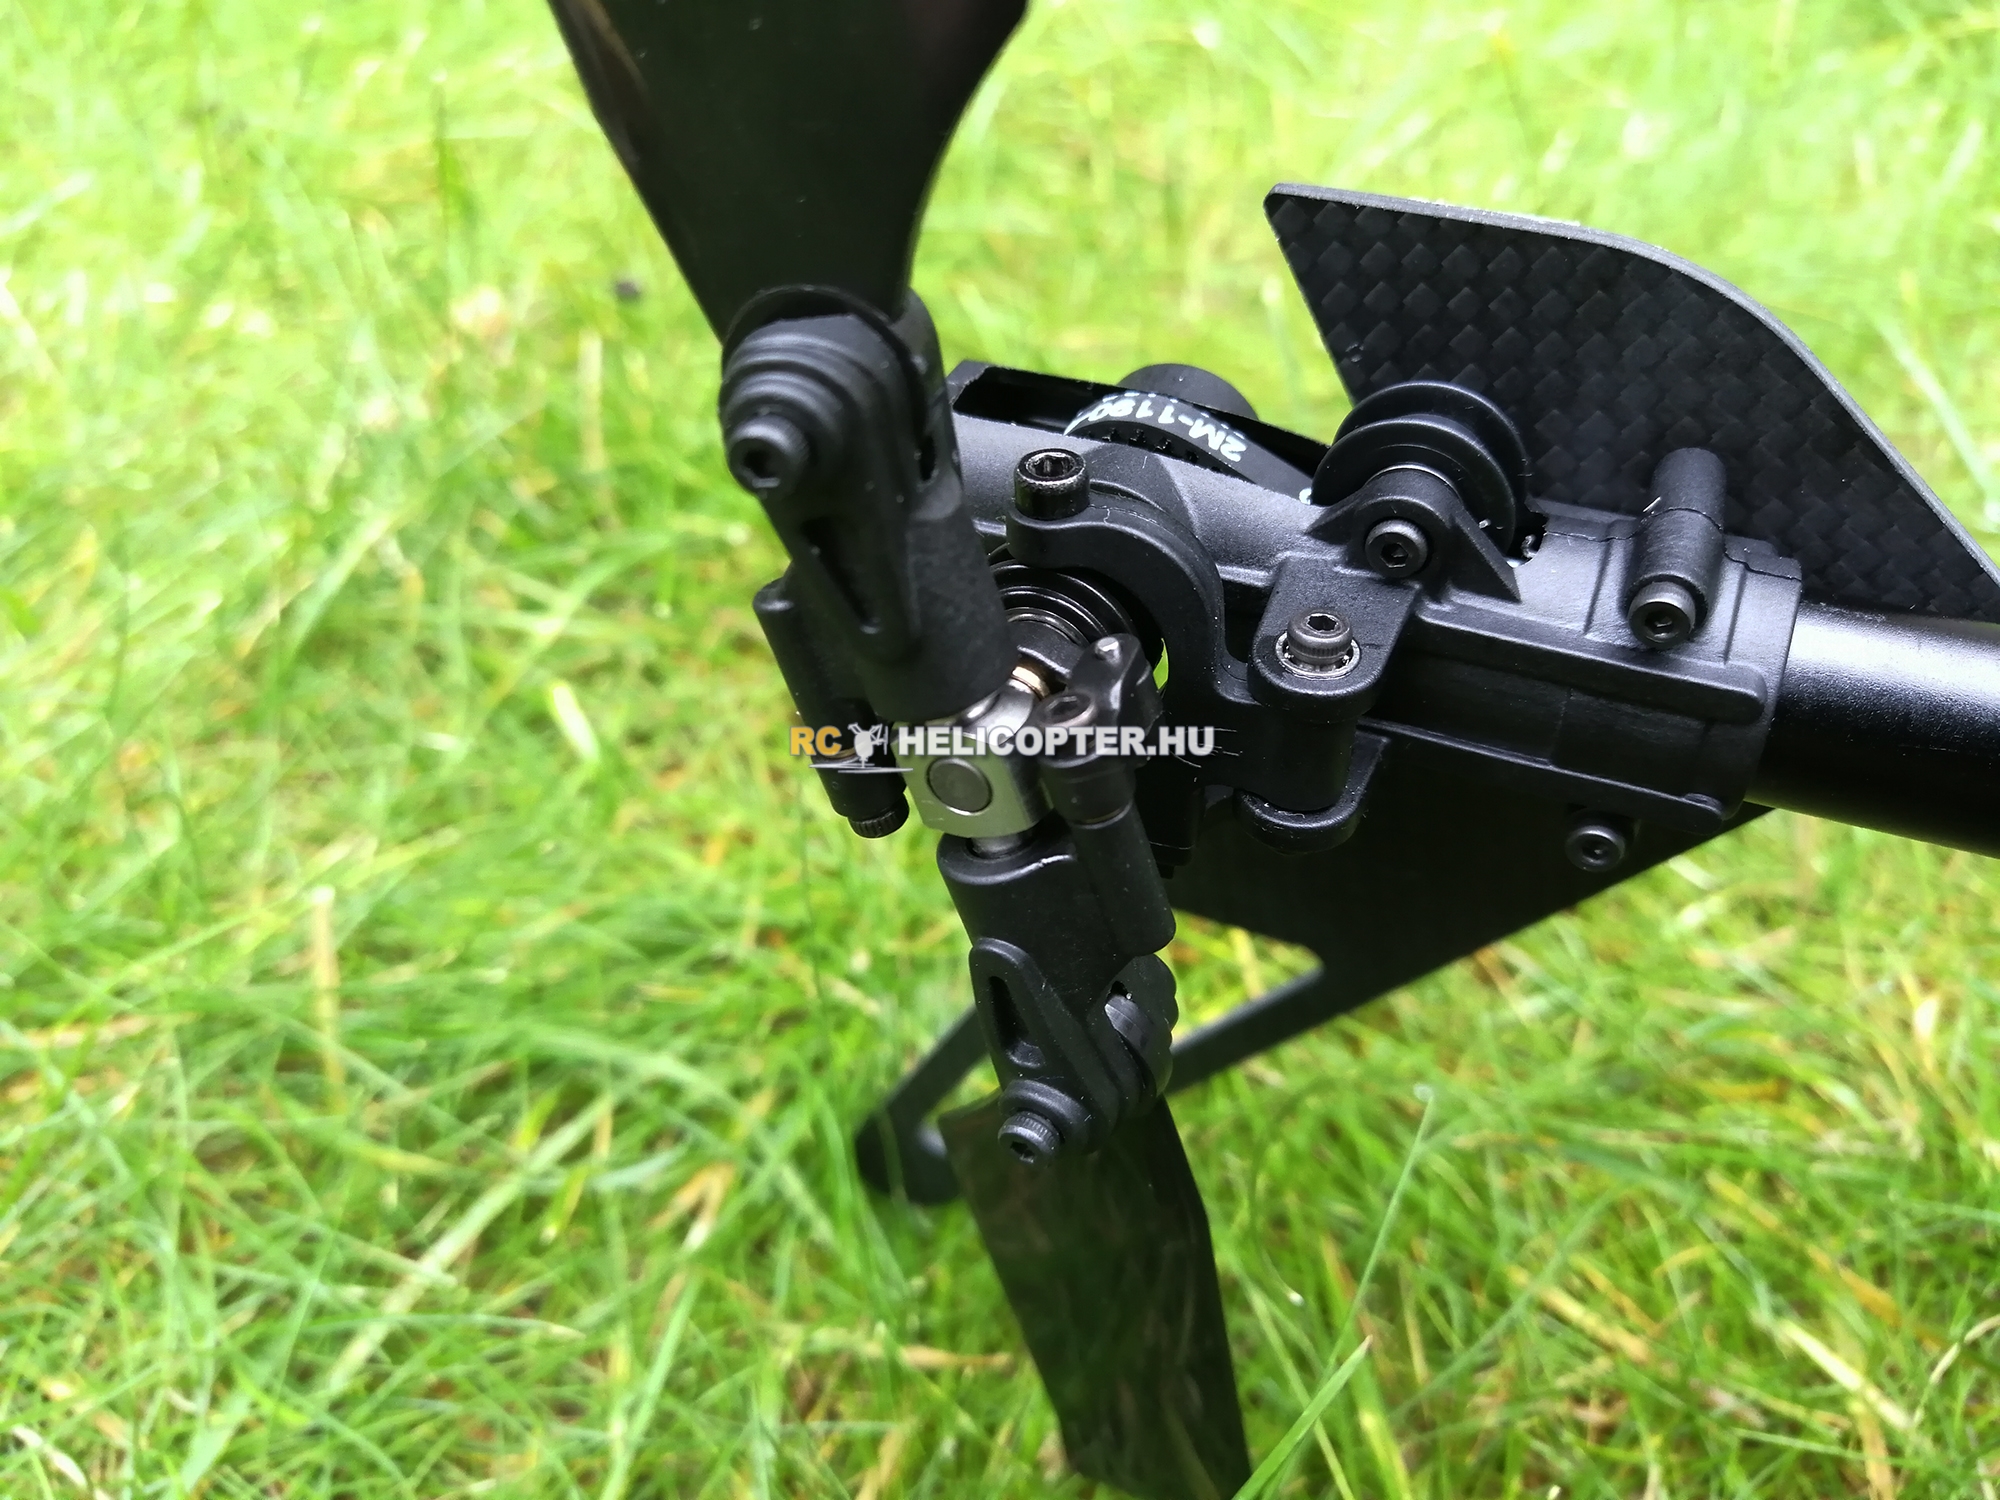
The tail is also very simple. But one thing over there is not so typical at model helicopters. The tail shaft and the pulley on the shaft are not one single part integrated to each other, they are separate components and a little spike is responsible for the locking. This is the only step in the manual which is a bit more complicated, real attention has to be paid to it, otherwise you have to take the complete tail block apart more times, as we did. We forgot the tail shaft bushing, when we noticed it, even the tail fin was up. Bang, taking everything apart again. One advice: Before this stage do not tighten the tail belt, otherwise it's hard to assemble the tail block. The manual doesn't show this trick, but it is obvious if you have built a helicopter once.

Putting the tail control arm up on the tail block is like origami, you have to find the correct angle, then it can click in with no extra force. Click one end in the hole, then pull the other end into the console from the tail boom rather than to try pushing it. It won't go in from outside, but slips in from inside. The tail is the most complicated bit in general, there are more points which are tricky or easy to make a mistake. Like the tail grips: they are really stiff whilst the bearings go in, so at the end I decided to pull the grips apart when they were on the hub. I put two screwdrivers in the holes of the blade screws and I could pull the grips correctly, then everything clicked into position.

Tail pitch bushings require attention as well. The thin collar go between the grip and the arm. And if this is not enough, easy to put the entire tail hub up reversed and you realise it, when you want to put the blades up. Suddenly the nut goes in the front, the screw goes in the back. Before you put everything together double check all components and their positions. But when you got to this stage, the airframe is done.

Last step is the canopy. And this is that particular point where you can make a fatal mistake - once. This kit is not super expensive and something for something. The canopy is not the classic fiberglass canopy, it's made of plastic. Still not bad, but more sensitive for scratches than the coated fiberglass ones. This is why it has got a thin scratch preventing foil like the screen of a new mobile or transmitter. The only problem: nothing warns you, it is a protection and it is so perfect, it seems like part of the canopy. If you put the sticker up on it, no way to remove, the sticker is gone.
I have to take my daughter's forever wish serious after all:
or a warning label on the foil or something to tell me: remove before flight and stickers. This is the only critical problem we experienced. Now I have to order a new canopy just for the sticker. If I could advise only one change to XLPower, then I would say this one.

About the Protos 380
The XLPower Protos 380 gives what's promised: a well designed sub middle size helicopter. Easy to build, easy to repair, easy to understand the concept. I recommend it for beginners as well. Yes, it can be a first model. Its size is good for beginners. But it is ideal as a fun helicopter, for practicing easier manoeuvres, when the mass is not so important, as the helicopter is just over a kilogram.

I don't think so, this is the best model to learn piroflips as it's too light - you are still advised to choose a much bigger one - but the Protos 380 is ideal to learn the basics, orientation, first manoeuvres or even flips, tic-tocs. And it's cheap to fly. A good pack of battery costs about £45 pounds, one flight will cost around 30p if there wasn't a crash. But crashes happen. Luckily a crash is not end of the world either, as the spare parts are also affordable, even a bigger crash won't be more expensive than £100. Because of its dimensions it is not so terrifying, but stable which is important to a beginner pilot who joined the hobby recently.
Most of the pilots started with Align models, this is why I say, the XLPower Protos 380 is between the traditional 450 and the 500 Align models in order to its size, but closer to 500 than to 450. It's exactly the same class as the Align 470. If you are a beginner and you don't understand the sizing, don't feel bad, this article can help you.

I don't think so, there's a way to make a good helicopter even simpler. No unnecessary elements, no tricky bits, everything just designed for the purpose. And everything makes sense at the first place as well. The pure function itself designed in this helicopter. I had no feeling unlike with our previous helicopter: this is not going to work. Everything wants to work as a Swiss watch. And this puritan implementation has no backlash and shown even in the price tag. Not extremely cheap, but the kit is worth its price indeed.
Next steps
Our XLPower Protos 380 is done as airframe, but no electronics are in. I was going to see first what I can fit and how, before I order things unnecessarily and I spend a lot with no reason. For example I would have ordered mini servo on the tail if I was doing differently, but the mini servo is not going to fit on the servo holders.
This helicopter will get an Egodrift Tengu 3220 900kV motor. The recently announced XLPower 3215 would be an option too as it's 30% cheaper than the big brother and that motor is manufactured by Egodrift too just in XLPower OEM production. However it just got announced, we need to wait longer. And the Tengu is genuine Egodrift.
I'm less certain in order to the ESC. The winner will be the Hobbywing Platinum V4 60LV as it fits in the slot perfectly and does the job we need. Although some other options still evaluated, like Kontronik, Scorpion. The CC Edge 60 is out: too wide.
In order to servos this is the least certain bit, as there are plenty of good options with similar prices. Even the Align matching servos are playing, I have really good experiences with them throughout the years. But GDW and KST have got some really good options as well as others. This is going to be the most difficult bit.
The FBL is not decided yet either, Mikado VBar or Microbeast are the most likely candidates now, and if Toncsi (my daughter) likes the heli in flight it will be upgraded to VBar Neo to make it compatible with her VControl transmitter.
Rotor Tech 380 blades will get on the Protos 380 by the current plan.
The last question is the battery. No doubt We are done with cheap batteries, as they are rolling out, we switch to reliable, quality brands. The cheap batteries are really expensive, namely they are working for much shorter time than the expensive good ones. ManiaX has got a really good pack for this helicopter, the 6S1P 1800mAh seems ideal in dimensions and weight as well. And they can be charged on 5C. 9 amps can go in, 10-15 minutes to full. 3 packs and we can fly all day long with no stopping.
When all of these arrived and got installed, the helicopter will fly and we are back with an experience report as well.
Stay tuned...


